Custom Vinyl Vector Graphics
Precise Vinyl Vector Graphics
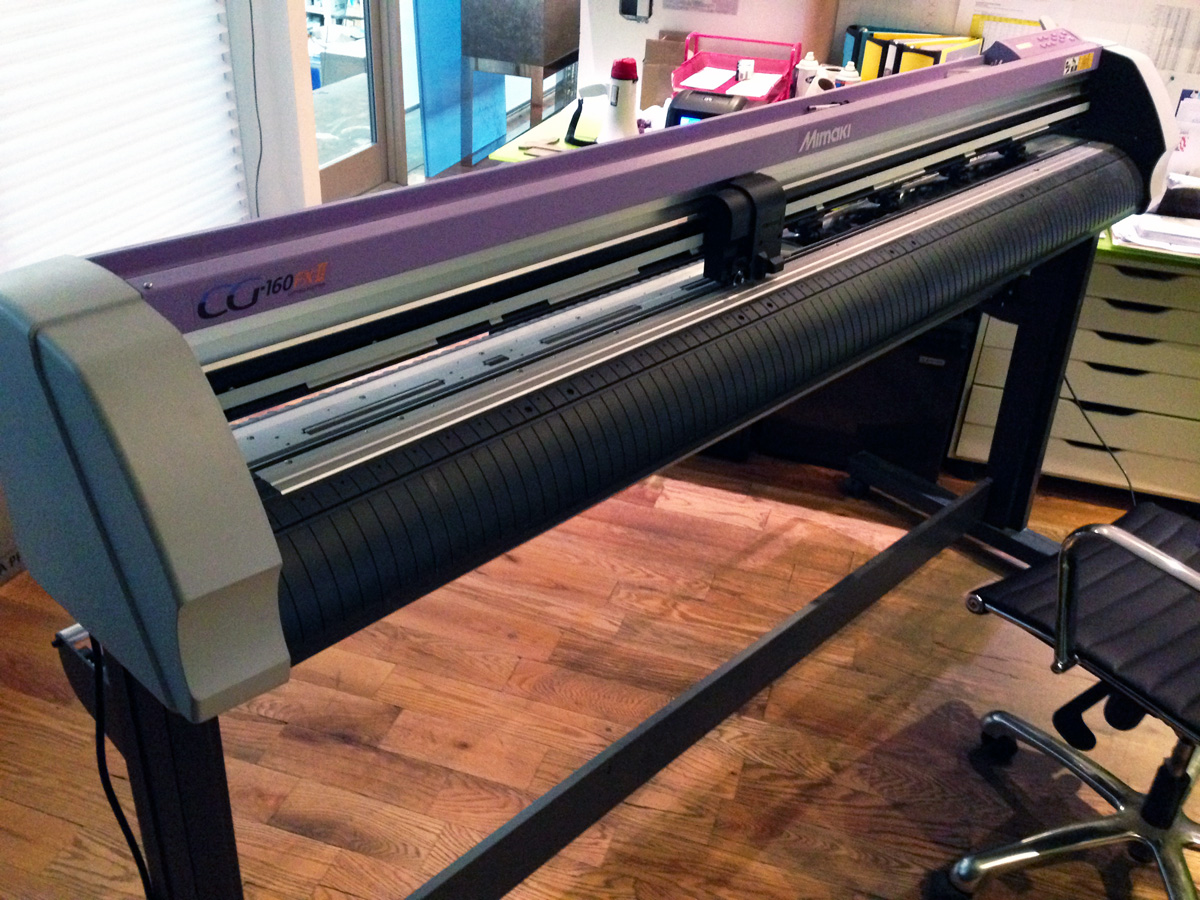
Custom vinyl transfers with Adobe Illustrator and a Mimaki CG-160 FX II cutting plotter.
From government regulated lettering to full body vehicle wraps. FineCut8 for Illustrator allows for accurate cutouts on almost any transferable medium.
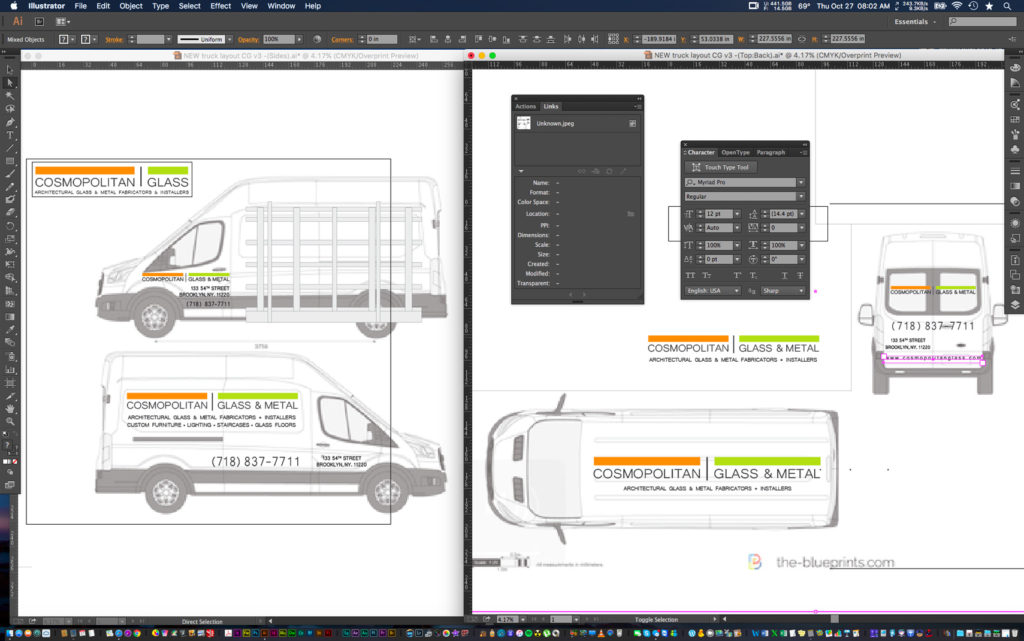
Having recently purchased a commercial vehicle, our client needed visual business representation in order to comply with local DMV regulations. Since most standard vehicles have their vector templates available online, we acquired our rendering of a Ford Transit 350 Van from the-blueprints.com and immediately begun laying out the required criteria. (Its important to note for instances that don’t require precise lettering, a ruff estimate of surface dimensions can suffice as your illustrator artboard). For commercial vehicles each state has its own regulations (typically within a 1/4” of wiggle room). In NY 3” tall letterings were going to require some precision, else our parking violations would be subject to a fine.
By utilizing Adobe Illustrators 3rd Party plugins we preloaded FineCut8 to manipulate our vinyl plotter (a Mimaki CG-160 FX II). After converting our text to outlines and removing any additional anchor points, we proceeded with a print simulation. Why a simulation? With small jobs the time the blade spends recuperating and moving across the paper may not be as vital. With larger repetitive jobs where quantity matters, the simulation helps verify the direction and distance the blade travels (from artwork to artwork and in-between cuts) yielding in a shorter production time.
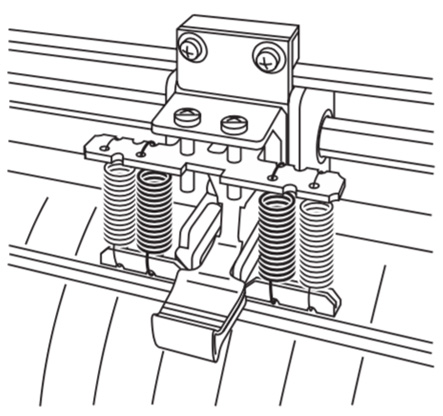
The plotter’s rear-end was then fitted with a semigloss adhesive-backed vinyl. Depending upon the paper-weight (70 kg or more), the plotters pressure clamp levers may need to be adjusted. After inputting dimensions corresponding to our artboard and accounting for any bleed areas we proceeded with our simulation run.
At this point, had our artwork been preprinted with registration marks our plotter would begin an initial scan to align the registration. Since our lettering was solid black, we opted to skip this step and run a test conducted on a sheet-fed, front load sample, using just 2 pressure clamps and 2 pinch rollers. It’s important to note, if you notice pinch roller impressions indented into the medium post-cut, a quick fix could be to adjust your pressure clamps to account for the heavier paper weight.
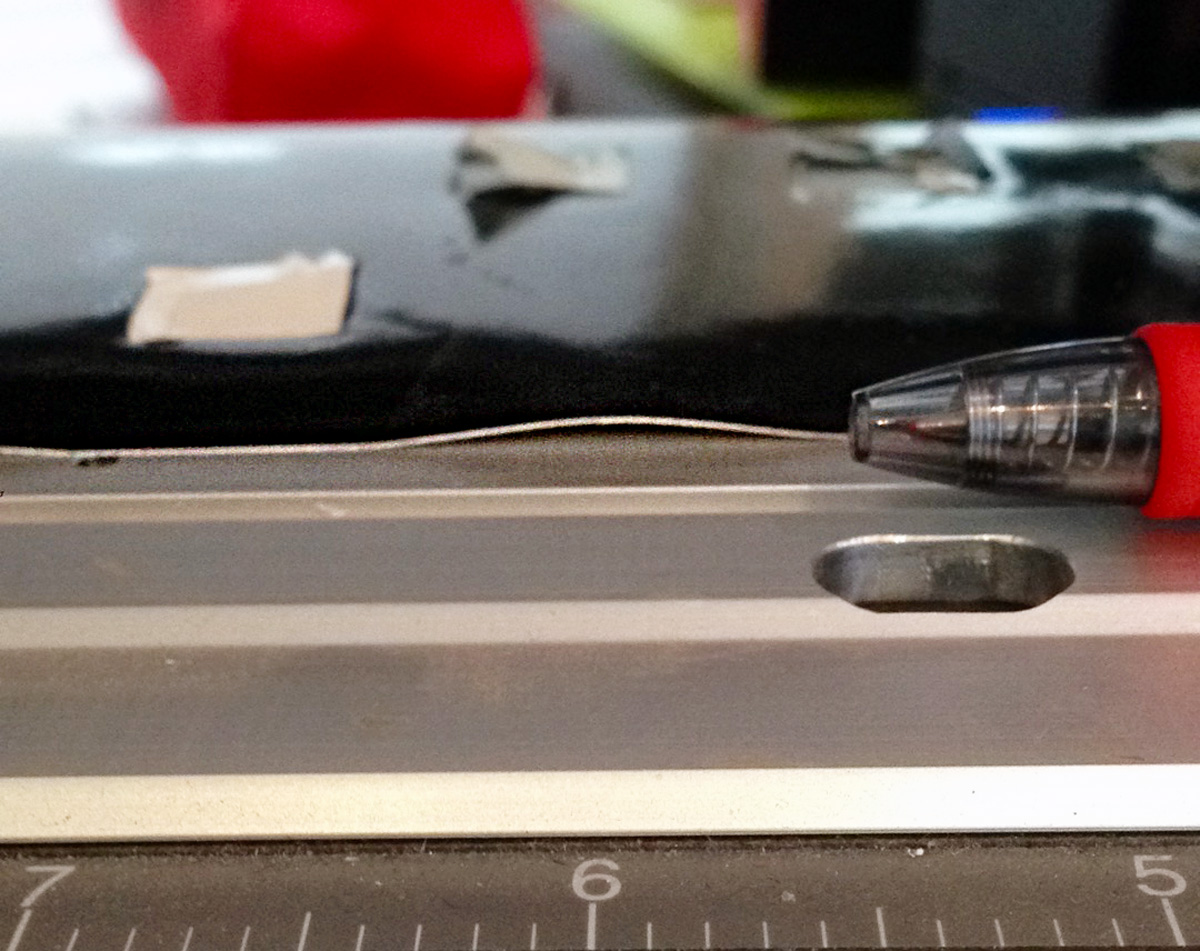
Having conducted several “square cut” tests, we found these to be the most vital influential parameters:
- Press – depth of blade vs. paper weight (g)
- Speed – at which the blade cuts (dependent upon paper type & cut complexity).
- Offset (N/A) – amount or distance by which something is out of line.
After completing a successful run we began peeling out any lettering holes and negative-spaced characters before applying transfer tape. By cutting the graphics into smaller sections we found it easier to manage when affixing to the vehicle. A few solid presses later and our clients Ford 350 commercial van was road-ready and fully complied with Section (pdf) 4-08 of the NYC DOT Regulations.